
Halloween necklaces-embroidery designs
Halloween necklaces-embroidery designs
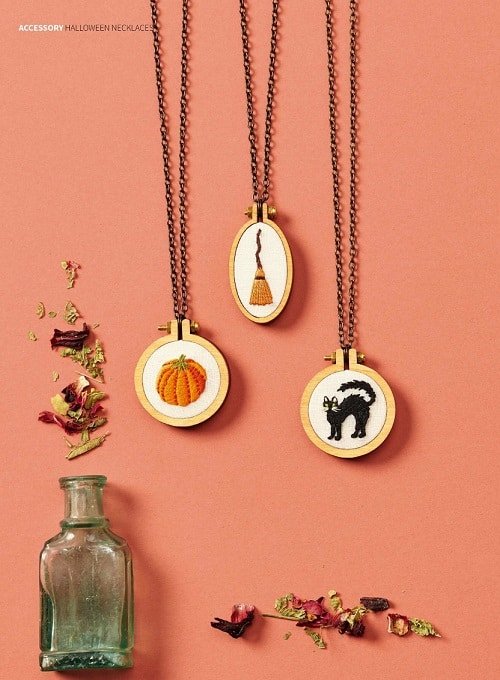
This Halloween , be sure to wear your craft with pride when you stitch our trio of magical miniatures!
MATERIALS
Stranded cotton: 1 skein each of black, brown, dark brown, light brown, green, bright orange, dark
orange, light orange, pink and white
Embroidery hoop: 10cm diameter , Mini circular hoop necklace kits: 4cm diameter x2 ,Mini vertical oval hoop necklace kit: 2.7×4.5cm
Basic embroidery kit ; Strong craft glue
STITCHES USED
Backstitch, French Knot, Long and Short Stitch, Satin Stitch, Straight Stitch
- 1.Transfer the pumpkin design from the template onto the centre of the fabric using your preferred method. We used a lightbox and Micron pen, size 1. Mount the design into your 10cm embroidery hoop, ensuring the fabric is taut like a drum and central for ease of stitching, Begin stitching using one strand of light brown in Straight Stitch to work the raised portions of the pumpkin stem marked on the template.
- 2.Then, fill in the rest of the stem with one strand of green in Long and Short Stitch.
With two strands of dark orange, use ’ Satin Stitch to fill the second-to-last and back-right segments of the pumpkin to create shadow. Angle your stitches on each section to help accentuate the rounded shape of the pumpkin. Refer to the step photo above for guidance on angling your stitches in this way. When working Satin Stitch, make sure you pull your thread all the way through the fabric before beginning the next stitch. This ensures a more even tension and smoother result
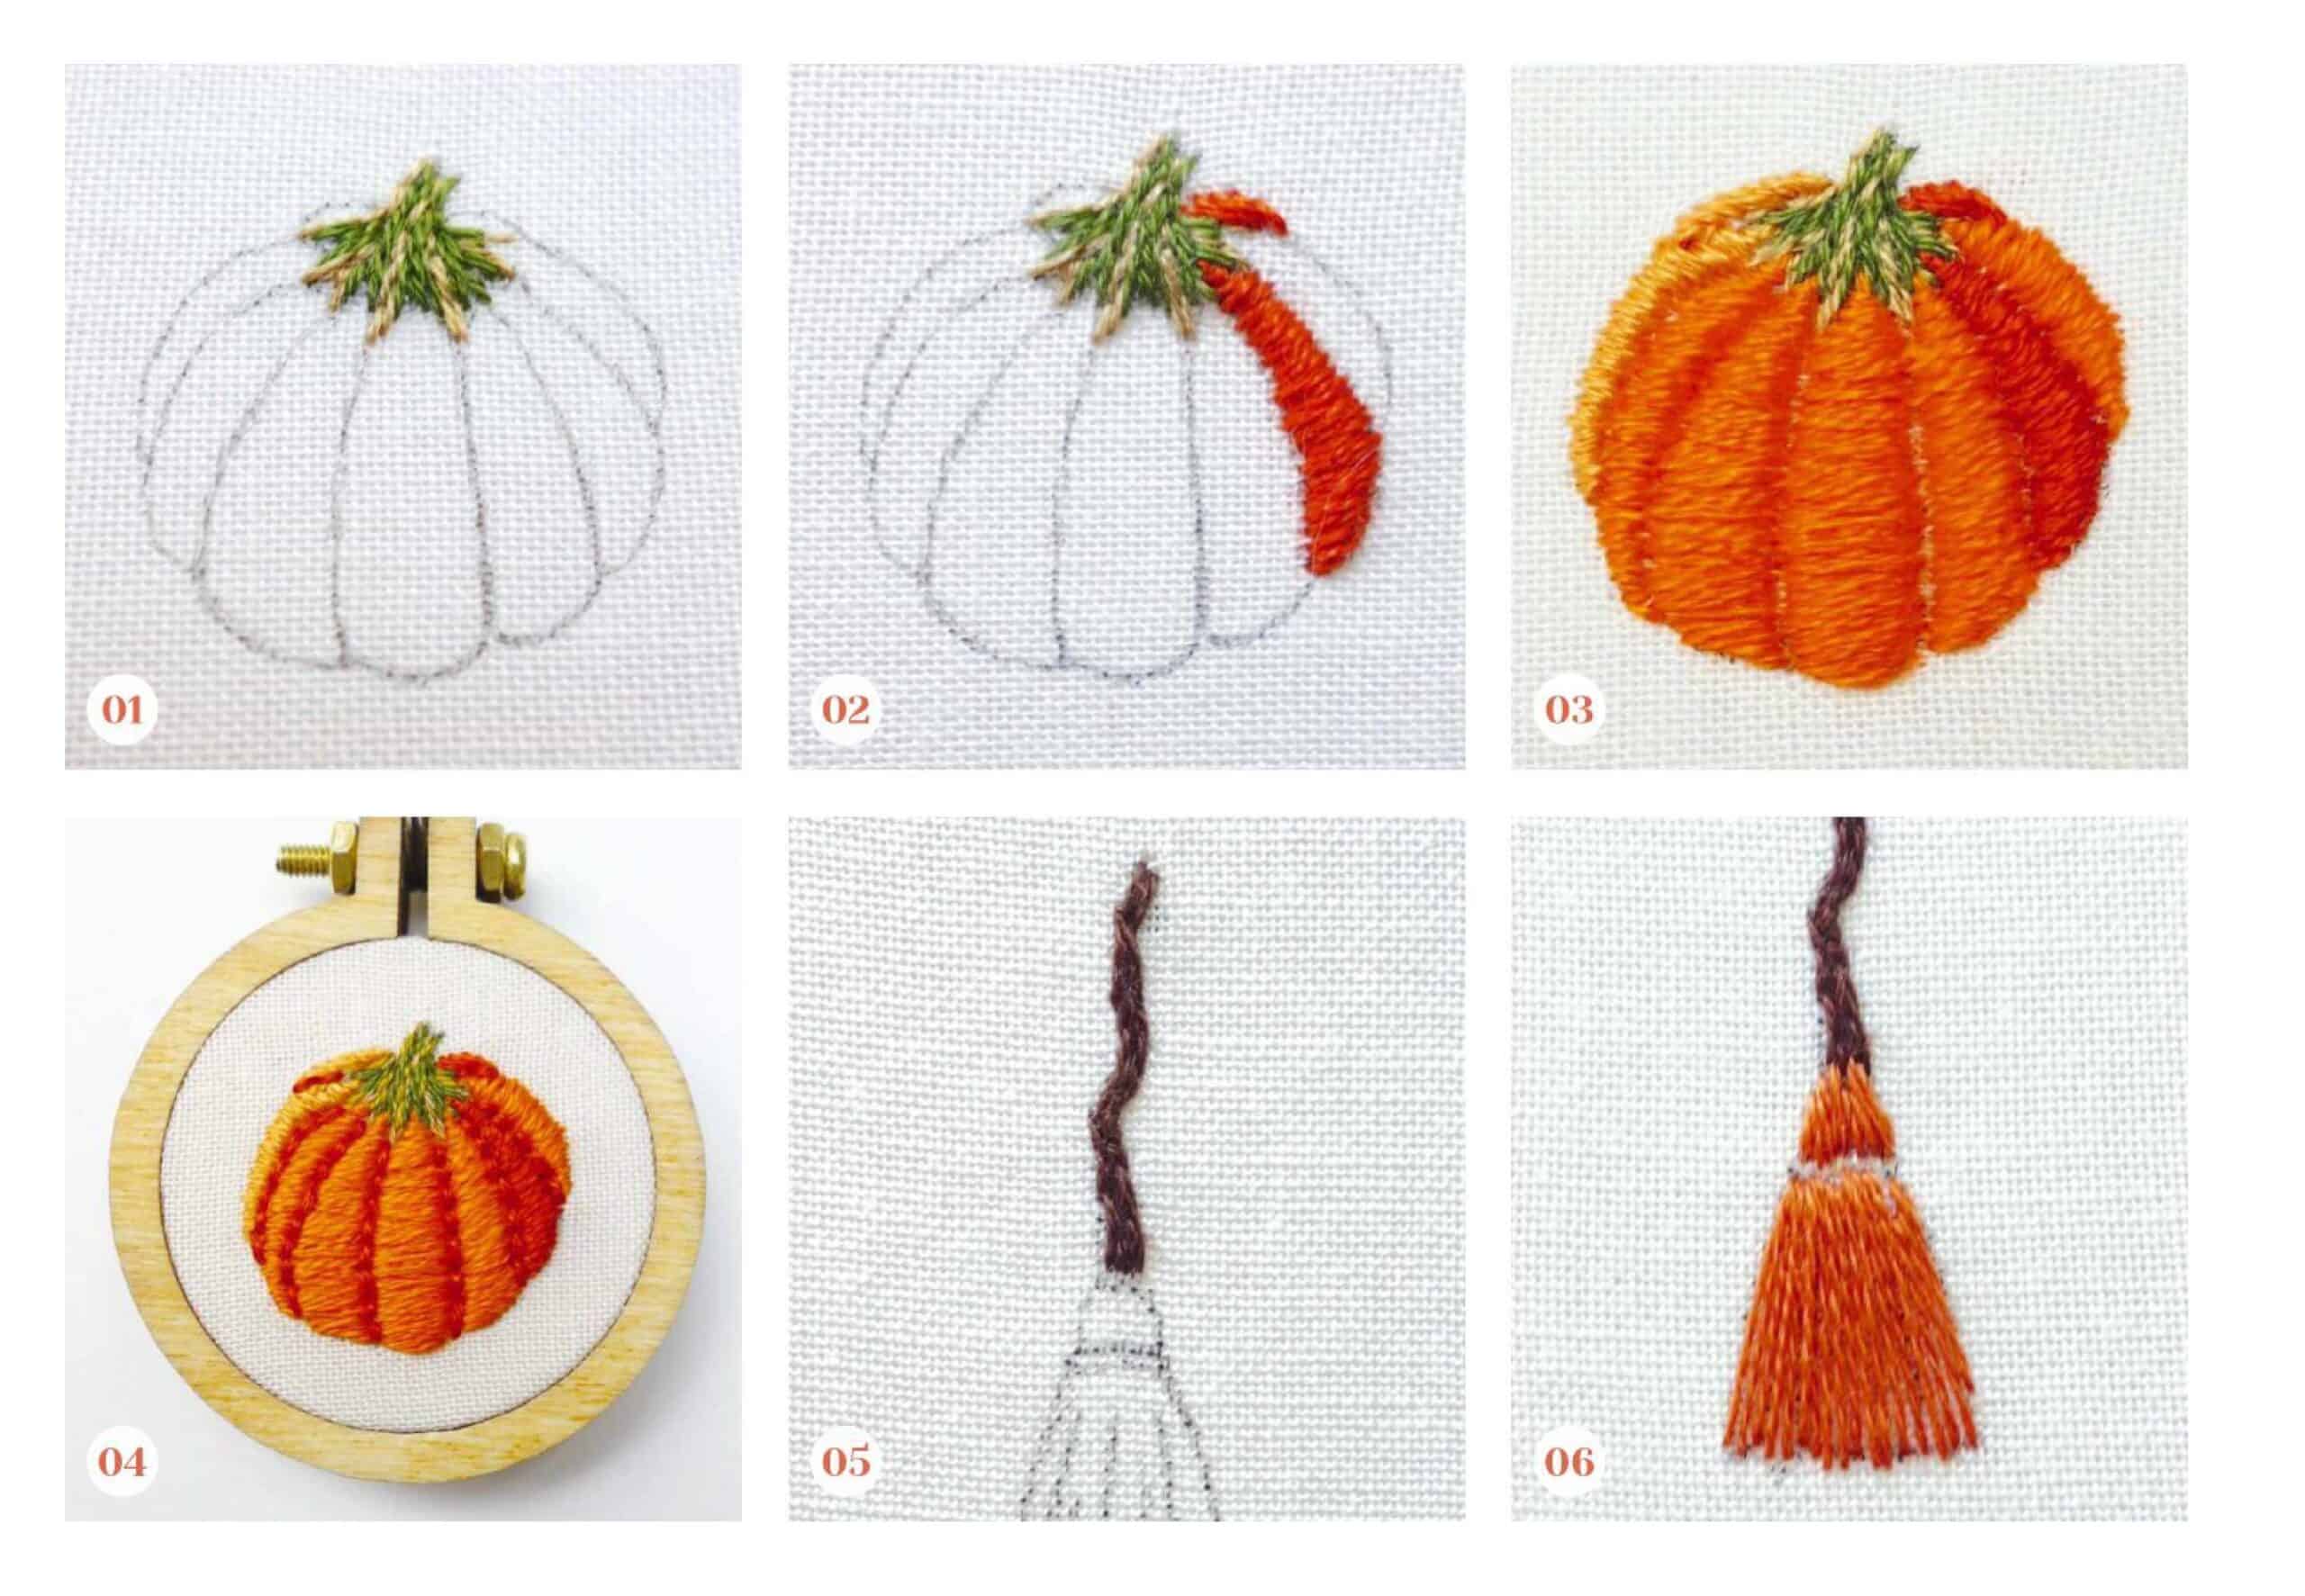
- 3.Fill the first two segments on the left side of the pumpkin with horizontal Satin Stitch using two strands of light orange. This lighter colour is designed to mimic the direct sunshine on that side of the pumpkin. Fill the remaining segments of the pumpkin with two strands of bright orange in the same manner.
- 4.Outline the indents between the pumpkin segments using short Backstitches in two strands of dark orange. When your stitching is complete, mount your embroidery into a 4cm mini hoop. To make your necklaces, cut around each design with a 1.5cm border. Wrap your design around the smaller wooden disc and glue the excess fabric to the back. Use clips to hold the fabric in place as it dries. Once completely dry, insert the design into the hoop and tighten the clasp with the jump ring on the necklace’s chain looped onto the screw of the hoop. Finally, glue the larger wooden disc to the back of the hoop to finish. Allow to dry completely before wearing.
- 5.Transfer the witch’s broom design from the template onto the centre of the fabric using your preferred method. Mount the design into your 10cm embroidery hoop, then work the crooked broom handle in vertical Long and Short Stitch using one strand of dark brown.
- 6.Use one strand of brown in vertical Satin Stitches to make the first layer of broom bristles. To make the bristles look extra realistic, slightly overlap the strands towards the top of the brush and then fan out the stitches at the base.
- 7.Create extra dimension by layering a few Straight Stitches in one strand of light brown on top of the broom bristles – this will help fill in any gaps, too.
- 8.Work a series of horizontal Straight Stitches in one strand of dark brown to fill in the gap between the broom bristles and the handle. Once your stitching is complete, mount your embroidery into the mini oval hoop necklace, following the instructions in step 4 to finish your necklace
- 9.Transfer the cat design from the template onto the centre of the fabric using your preferred method. Mount the design into your 10cm embroidery hoop. Use two strands of black in Long and Short Stitch to fill the body of the cat. Start at the tail end of the cat and work towards the head, angling your stitches to echo the shape of each section and really emphasise the spiky texture on the cat’s tail and back.
- 10.Fill the cat’s inner ears with vertical Satin Stitch in two strands of pink.
- 11.Next, use French Knots to create the cat’s eyes with two strands of green
and two twists. If you find you have trouble working French Knots, try using a milliner’s needle instead of an embroidery needle. It has an eye that is the same thickness as the rest of the needle, making it easy to pass the needle through the tight twists of the French Knot. - 12.Finish the cat design by adding whiskers in one strand of white, making six Straight Stitches out from the centre of the cat’s face. They will sit on top of the black Long and Short Stitches you made in step 9. When your stitching is finished, follow the instructions in step 4 to mount your embroidery into a 4cm mini hoop necklace.
Designed by Emily Harrison-Ach
Download the template:
Download


