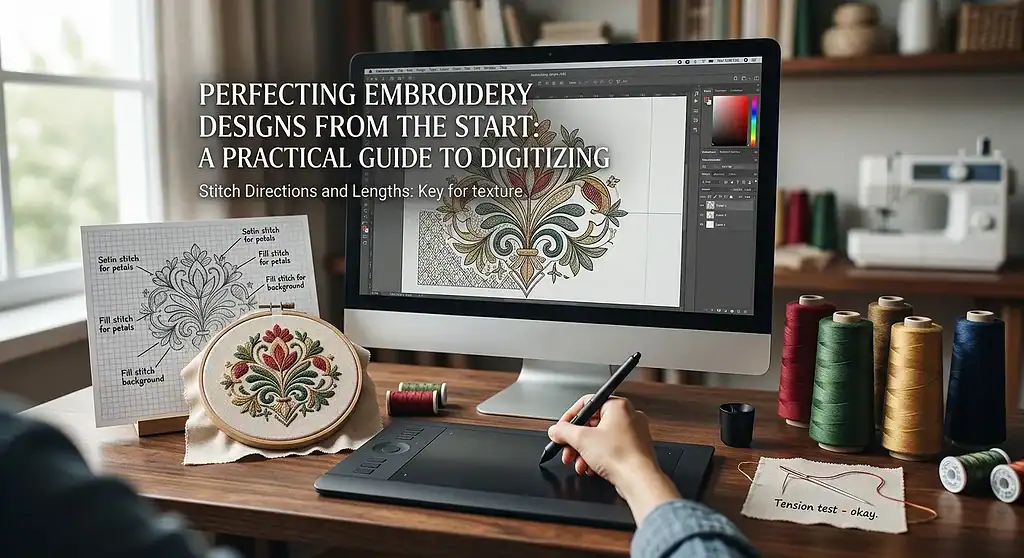
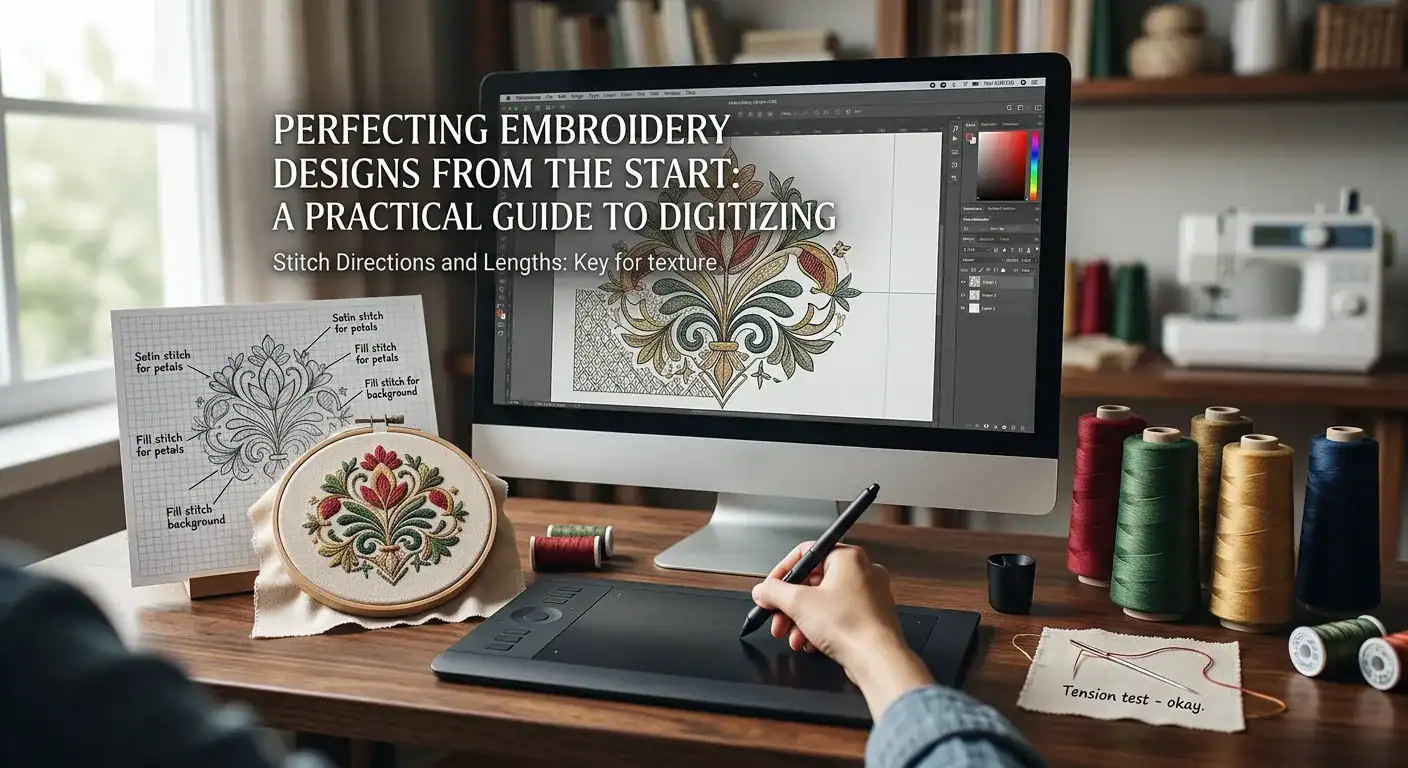
Digitizing is where a sketch becomes stitchable. It sounds simple until the first test run comes back puckered, stiff, or missing details that looked fine on screen. The good news is that a strong setup, a clear plan, and a few technical habits can save a lot of wasted thread and fabric.
This embroidery digitizing guide is built for the moment before the first file is sent to the machine. If you have ever wondered how to digitize embroidery designs without learning the hard way, the answer is less about magic software and more about smart choices. The design, fabric, stabilizer, stitch direction, and thread path all need to work together.
Start with the design, not the software
The most common mistake is opening embroidery software and jumping straight into stitch settings. A better first move is to study the artwork itself. Clean shapes, limited colors, and bold outlines are much easier to translate into stitches than tiny details that vanish at stitching scale.
Look closely at the source image and decide what belongs in thread and what should be simplified. Embroidery is not printing. Thin gradients, delicate shadows, and hairline text usually need to be adapted or removed before the file is built.
If you are working from a logo, ask what the design must communicate at a glance. That question helps keep the file practical. A design that looks slightly less detailed on screen can often stitch cleaner, faster, and with far better results on fabric.
Choose the right tools for the job
Good embroidery software does not make every design perfect, but it makes the process manageable. For newcomers, embroidery software for beginners should be easy to navigate, stable, and clear about stitch types, density, underlay, and file export options. A confusing interface can lead to avoidable mistakes before the first stitch is even planned.
Not every program works the same way. Some are better for manual digitizing, while others offer strong auto-digitizing tools that still need careful editing. Auto features can help with speed, but they rarely produce a finished file worth stitching without adjustment.
Along with software, keep a few reference items nearby: the actual fabric if possible, the right stabilizer, and a sample of the thread brand you plan to use. Digitizing is easier when the digital choices are grounded in real materials, not guesses.
| Item | Why it matters |
|---|---|
| Artwork file | Determines clarity, scale, and how much simplification is needed |
| Fabric sample | Affects stitch density, pull, and underlay choices |
| Stabilizer | Supports the fabric and helps prevent distortion |
| Thread chart | Helps with color planning and practical thread substitutions |
Understand the fabric before digitizing anything
Fabric changes everything. A dense satin column that looks crisp on twill may buckle on knit. A fill stitch that behaves beautifully on canvas may sink into a stretchy tee. When people ask how to digitize embroidery designs successfully, fabric choice is often the hidden answer.
Stretch fabrics usually need lighter density, stronger underlay, and careful hooping. Woven fabrics give you more room to work, but they still respond differently depending on thickness and texture. Fleece, denim, linen, performance wear, and caps each create their own set of problems.
I learned this the annoying way on a project for a lightweight polo shirt. The design looked perfectly balanced in the software, but the first sample shifted enough to warp the text. The fix was not just tweaking the stitches; it was reducing density, changing the underlay, and choosing a stabilizer that actually matched the garment.
Match stitch type to the shape
Different parts of a design need different stitch families. Satin stitches are great for borders, text, and narrow columns. Fill stitches work better for larger areas, while running stitches are useful for outlines, detail lines, and tiny accents that would be swallowed by denser stitching.
Trying to force one stitch type to do everything usually ends in trouble. Large satin areas can snag or ripple, and overly dense fills can turn a soft garment into cardboard. The art of digitizing is knowing where to switch gears before the machine does it for you.
When in doubt, think in terms of function. What shape needs to stand out? What area should lie flat? What detail is small enough to suggest rather than fully build? Those choices matter more than adding extra stitches for the sake of precision.
Build the design in layers
A strong file is usually constructed from the background forward. Underlay comes first, then fill areas, then details, then borders or highlights. That order helps stabilize the fabric and gives top stitches something to grip instead of sliding around.
Underlay is easy to ignore because it disappears in the final design, but it does heavy lifting. It supports dense areas, prevents fabric show-through, and keeps shapes from collapsing. The exact underlay style depends on the fabric and stitch type, but skipping it entirely is rarely a good idea.
Think of the design as a small building. The visible stitches are the walls and paint, but the underlay is the frame. If the frame is weak, the whole thing starts leaning once the machine speeds up.
Mind stitch direction and pull compensation
Stitch direction affects the way light hits the thread and how the shape reads from a distance. It also changes how the design behaves under tension. Careful direction planning can make an ordinary shape look more polished without adding extra stitches.
Pull compensation matters just as much. Thread tightens fabric as it sews, which can shrink columns and distort edges. A design that looks accurate on screen may come out narrower or smaller unless compensation is built in from the start.
Most beginners make the mistake of checking only the visual appearance in the software preview. The better habit is to imagine how the stitches will physically land on the fabric. Thread has weight, and fabric reacts. That combination is where clean embroidery either succeeds or falls apart.
Keep density realistic
Dense stitching can look luxurious in theory and stubborn in practice. Too much stitch concentration leads to puckering, thread breaks, and thick spots that feel bulky to the touch. The right density gives the design coverage without turning it into armor.
There is no single number that works for every project, because fabric and stitch type change the equation. Still, it helps to be cautious rather than aggressive, especially on your first sample. If a shape needs more presence, underlay and stitch direction often solve the problem more gracefully than adding layers of top stitches.
This is one place where experience grows slowly. The more samples you stitch, the more you start to recognize the warning signs before they show up on the machine. That kind of judgment is what separates a decent file from one you trust.
Plan colors and sequence with the machine in mind
Color planning is not just about matching a brand palette. It also affects thread changes, production time, and how the design is read in real life. Simple color sequencing can keep the machine moving efficiently while reducing unnecessary stops.
When you build the stitch order, group areas so the machine travels logically across the design. That helps limit jump stitches and trims. It also reduces the chance of thread tails showing up where they do not belong.
If the design has many colors, ask whether all of them are truly necessary. Sometimes a few well-placed stitches in a contrast shade do more work than a crowded palette. The smartest design is often the one that does not ask the machine to do extra favors.
- Keep similar colors grouped together when possible.
- Minimize unnecessary thread jumps across open spaces.
- Place stitch elements in an order that protects earlier sections from later stitching.
- Use trims and color changes intentionally, not by default.
Test stitch before you call it done
No screen preview can replace a real sample. A test stitch reveals what the software cannot fully predict: fabric movement, thread sheen, density problems, registration issues, and how the design behaves once the needle starts punching holes in it.
Keep your test on the same fabric, with the same stabilizer and thread, whenever possible. If the project will be stitched on a cap, do not test on a sweatshirt and assume the result translates cleanly. The more closely the sample matches the final product, the more useful the feedback becomes.
After the sample runs, inspect it with a critical eye. Look at the edges, the spacing between shapes, the coverage in large fills, and the tension on the back. Good digitizing often comes from a second or third iteration, not from pretending the first pass was flawless.
Learn the editing habits that save designs
A reliable machine embroidery design tutorial should teach one important habit: edit with restraint. It is tempting to keep adding points, stitches, and effects because the design still feels unfinished. In practice, every extra adjustment should earn its place.
Try to solve problems in the most practical order. If letters are losing shape, adjust size or stitch type before increasing density. If a fill is tunneling, change underlay or direction before throwing more thread at it. Small corrections usually produce cleaner embroidery than dramatic overhauls.
It also helps to save versions as you go. Digitizing sessions get messy fast, and a file can drift away from the original idea if every revision gets layered on top of the last. Clear versioning keeps you from losing the good parts while fixing the bad ones.
Common issues and what usually causes them
| Problem | Likely cause | First fix to try |
|---|---|---|
| Puckering | Too much density or weak stabilization | Reduce density and check stabilizer choice |
| Uneven borders | Pull compensation or stitch direction issue | Adjust compensation and sequence |
| Thread breaks | Overly dense stitches or poor pathing | Simplify the section and reduce friction |
| Lost detail | Design too small for the stitch type | Enlarge the feature or simplify it |
Keep the first design simple on purpose
If this is your first serious attempt, resist the urge to build something elaborate. A clean monogram, a simple emblem, or a basic logo mark can teach more than a crowded illustration with tiny details. The goal is not to impress the software; it is to create a file that stitches well.
That mindset changes the whole process. Instead of asking, “How much can I cram into this design?” ask, “What can I remove without weakening it?” That question leads to clearer files and far fewer surprises at the machine.
The most useful lesson in How to Create the Perfect Machine Embroidery Design on Your First Try: A Guide to Digitizing is not perfection itself. It is learning how to make good decisions before the needle moves, so the first run has a real chance of succeeding. Once that habit clicks, digitizing stops feeling like guesswork and starts feeling like craft.
And that is where the work gets rewarding. A design that begins as a flat image becomes something with texture, rhythm, and presence. When the stitches land where you planned them, the whole process feels less like troubleshooting and more like building something that knows exactly where it belongs.

Embroidery design Casper -Halloween
Embroidery design Casper -Halloween Stitches: 10021 Colors: 6 Height: 89.1 mm Width: 66.1 mm Color changes: 5 Stops: 6 format: hus.pes,pec emb, sew Download embroidery…

Bugs Bunny-machine embroidery design
Bugs Bunny- machine embroidery design 2 (7/8)” x 3 (7/8)” : 9616 Stitches, 14 Colors, 13 Needles Formats: All files are in rar archive Download:…

Mickey Mouse-embroidery design
Mickey Mouse-embroidery design See also EMBROIDERY DESIGN “WINNIE WITH BUTTERFLIES” Download: Don’t miss new oriental embroidery design

Machine embroidery design “Winnie with butterflies”
Machine embroidery design “Winnie with butterflies” It’s very cute Disnay’s machine embroidery design Winnie with butterflies for size 2”15 x 1,78” Free download: See also…