
Key Takeaways
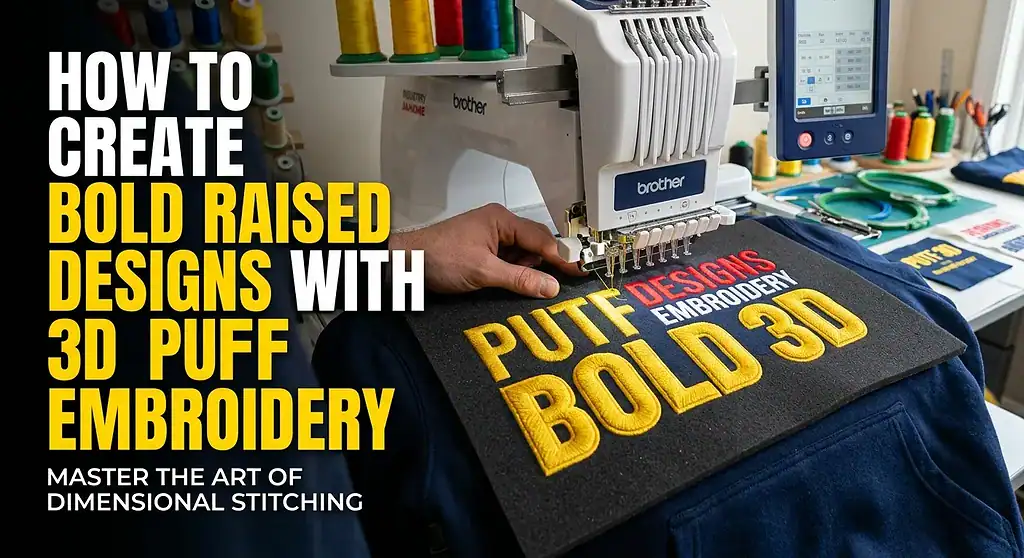
To create bold, raised 3D puff embroidery, place high-density EVA foam (2–3 mm) over your fabric and stitch over it using heavy satin stitches with capped ends to slice and trap the foam completely. Use a 75/11 or 80/12 sharp needle, increase your stitch density by 40–50%, and tear away the excess foam before using a heat gun to clean up stray foam bits for a clean, volumetric finish.
Raised embroidery has a way of grabbing attention before the rest of the design even gets a chance. On caps and hoodies, that extra height can turn a simple logo into something with presence, texture, and a clean, premium feel. The technique behind it is often called 3D puff, and when it is done well, the result looks sharp instead of bulky.
If you have ever wondered why some logos seem to sit proudly above the fabric while others lie flat, the difference usually comes down to materials, digitizing, and stitch order. This is not just a decorative trick. It is a specific method that depends on the right foam, the right density, and a machine setup that can handle a little more structure than standard embroidery.
What 3D puff embroidery actually is
3D puff embroidery uses a foam layer underneath the stitches to create height. The needle punches through the foam and locks the thread over it, building a raised surface that feels substantial to the touch. Once the top stitching is complete, the foam is either covered completely or trimmed away, leaving a crisp raised effect.
This technique works especially well on bold lettering, simple logos, and designs with clean edges. It is less forgiving than flat embroidery, though, because tiny details can disappear into the foam or look uneven. That is why most successful puff designs keep the shapes strong and the stitch paths deliberate.
For anyone learning how to do puff embroidery, the first thing to understand is that the foam is not decoration on its own. It is a structural layer that changes how the entire design behaves. Think of it as the hidden stage under the spotlight.
Why caps and hoodies respond differently
Caps are the classic home for 3D puff because their front panels are firm and stable. That stability helps the stitches hold their shape, especially around curved seams and structured crowns. A flat, dense logo on a cap can look especially striking when raised with foam.
Hoodies bring a different set of challenges. The fabric is softer, stretchier, and often thicker, which means the design has to be planned more carefully. Raised embroidery on a hoodie can still look excellent, but the placement needs to avoid heavy seams, bulky fleece, and areas where the garment moves too much.
That difference matters in practice. I have seen puff designs look flawless on a cap and then lose their edge on a hoodie because the garment pulled during stitching. The lesson is simple: the garment decides part of the process, not just the design file.
Design choices that make or break the effect
Strong puff embroidery starts with simple artwork. Thick letterforms, large fills, and clean outlines usually give the best result because they leave room for the foam to do its job. Fine serifs, narrow counters, and tiny interior details often need to be simplified or removed.
Spacing is another quiet but important factor. Letters that sit too close together can crush the foam and muddy the edges. Good puff work leaves enough room for the raised areas to breathe, which is why logo cleanup is often more important than adding extra detail.
If you are preparing a 3D puff embroidery tutorial for someone else or testing your own setup, start with a design that has one clear raised element. A single word, monogram, or emblem is a smarter first choice than a complex illustration. You want to learn the behavior of the foam before you ask it to do too much.
Materials and tools that matter most
Not all foam is the same. For 3D foam machine embroidery, the foam is usually a specialized low-density sheet made to sit under satin stitches or dense column work. It needs to be thick enough to raise the thread, but not so thick that the machine struggles to penetrate it cleanly.
Thread choice matters too. Polyester thread is common because it is durable and holds up well on hats and outerwear. Needle size, stabilizer type, hooping method, and stitch density all work together, so a weak choice in one area can throw off the whole look.
Here is a simple overview of the core setup:
| Component | What it does | What to watch for |
|---|---|---|
| Foam | Creates height under the stitches | Too thick, too soft, or cut poorly |
| Thread | Covers the foam and defines the shape | Weak coverage or excessive tension |
| Stabilizer | Supports the garment during stitching | Insufficient support on stretchy fabrics |
| Digitizing | Controls stitch path and density | Overly tight spacing can flatten the effect |
Digitizing for a clean raised finish
The digitizing stage is where puff embroidery either becomes polished or turns into a headache. Satin stitches are typically used because they span the foam cleanly and create the smooth raised surface most people expect. The stitch density must be firm enough to cover the foam, but not so packed that the thread breaks or the design gets stiff.
It helps to think in layers. The top stitches should support the shape, the underlay should guide the thread, and the foam should only appear where the raised effect is needed. When every part of the file is fighting for attention, the result looks clumsy. When the file is balanced, the puff reads as intentional and crisp.
For large runs or retail production, a test sew is not optional. Even a small change in foam thickness or garment type can affect the final shape. A design that looks perfect on paper may need a lighter density or wider satin columns to sew cleanly.
Best practices for caps
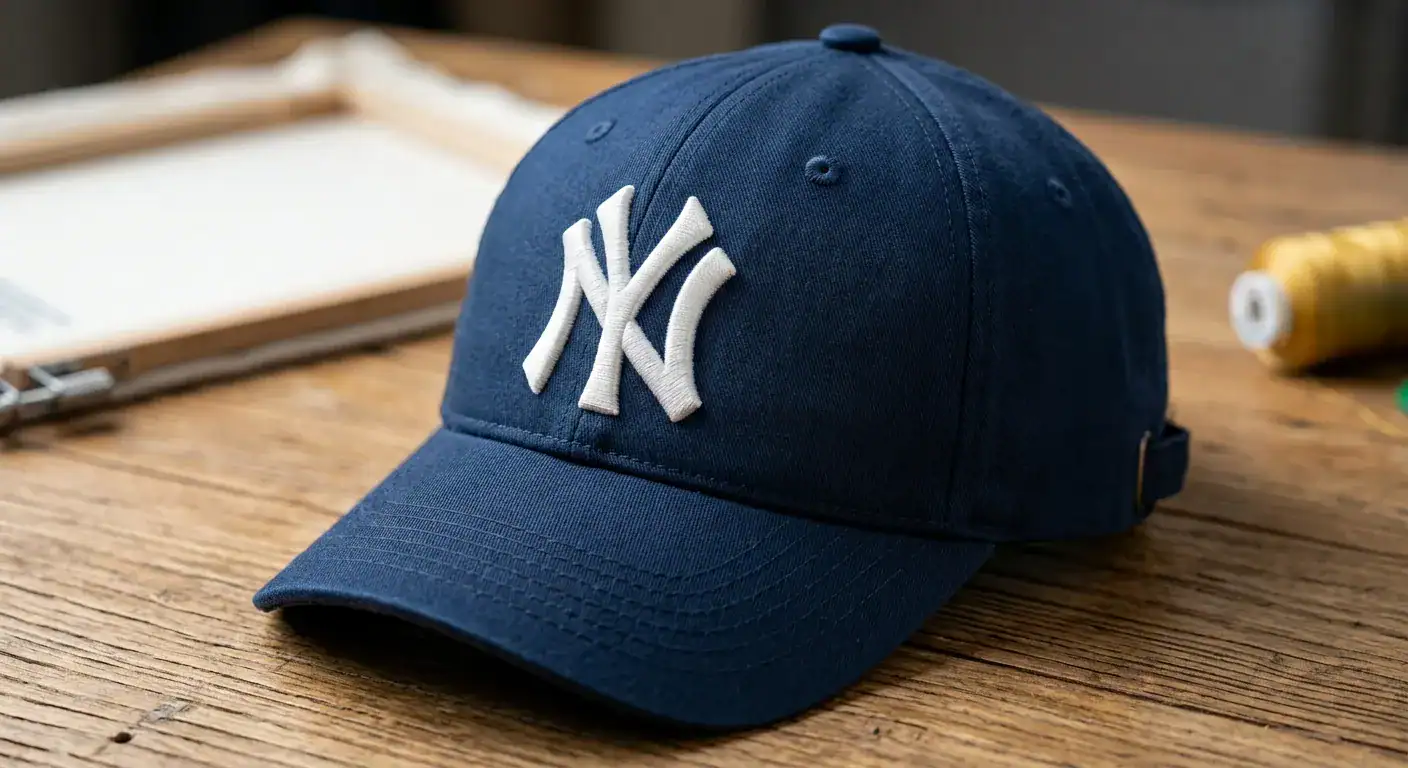
Caps reward precision. The front panel is usually the only area suitable for strong puff embroidery, and the design should sit where the fabric has enough structure to support it. Crowns with stiff buckram can handle more dramatic height than softer unstructured caps.
Placement on the cap matters almost as much as the design itself. Centering a logo may sound obvious, but the curve of the panel and the angle of the seam can alter the final appearance. A design that is technically centered on the hoop may still look slightly off once the cap is worn.
For a polished result, keep the puff area away from narrow seams and stitch the design in a sequence that preserves clean edges. Many embroiderers also prefer to trim foam carefully after stitching, especially around outer edges, so the raised area looks deliberate rather than fuzzy.
Best practices for hoodies
Hoodies need a gentler approach. The front chest, upper sleeve, or small center graphic area can work well, but heavy puff across large soft sections can make the garment feel stiff in a bad way. A good raised logo should enhance the hoodie, not fight its comfort.
Because fleece and sweatshirt knits can shift, stabilizing the garment is crucial. A floating setup or the wrong hooping pressure can distort the fabric and weaken the edges of the raised stitching. The embroidery should be placed where the garment hangs naturally instead of stretching across a seam or pocket.
In real production, I have found that embroidered hoodies and caps often require two different digitizing mindsets. Caps want structure and strong contour control. Hoodies need restraint, with puff used as an accent instead of the entire story.
How to avoid the most common problems
Puff embroidery tends to fail in predictable ways. The foam may show through if the stitch density is too light, or the thread may break if the design is overpacked. Sometimes the foam tears at the edge, leaving a rough surface that looks unfinished.
Here are a few habits that help keep the work clean:
- Use bold shapes with enough width to cover the foam completely.
- Keep stitch lengths and densities balanced for the fabric and thread.
- Test the design on the actual garment type before production.
- Trim excess foam carefully after stitching, especially on outer edges.
- Avoid tiny details that cannot be supported by raised stitching.
Temperature and machine speed also play a role. Running too fast can cause missed stitches, uneven coverage, or foam distortion. A slightly slower, controlled stitch-out often produces a better edge and fewer surprises.
When puff embroidery works best
This technique shines when the goal is impact without clutter. Sports logos, team initials, streetwear branding, and bold monograms all benefit from the dimensional look. On the right garment, the raised surface gives a design a tactile quality that flat embroidery cannot match.
That said, not every idea needs puff. A small script logo or a highly detailed illustration may look cleaner as standard embroidery. The strength of 3D puff is not that it can do everything. It is that it does one thing with real confidence.
If you are still learning the process, build your skills one piece at a time. Study the way the foam responds, watch how different fabrics behave, and refine the digitizing before scaling up. Once you understand the mechanics, the effect becomes much easier to control, and the finished work has the kind of presence that makes people look twice.
Bringing the look together
Good puff embroidery depends on a chain of small decisions that add up to a strong final result. The foam, the stitch file, the garment, and the machine settings all have to cooperate. When they do, the raised design feels crisp, modern, and built for the fabric it sits on.
That is what makes 3D Effect on Caps and Hoodies: How to Use 3D Puff Technology in Machine Embroidery such a useful subject for decorators and apparel brands alike. It is not just about making a logo stand up. It is about knowing when height helps, where it belongs, and how to make it look clean from the first stitch to the last.
Whether you are working on a cap for a team order or developing a line of embroidered hoodies and caps for retail, the same principle applies: keep the design bold, the setup controlled, and the finish precise. The best puff embroidery does not shout. It rises just enough to be noticed, and that is usually all it needs.